***HOMESPUN HEARTS***


Photobucket - Video and Image Hosting Photobucket - Video and Image Hosting Photobucket - Video and Image Hosting Photo Sharing and Video Hosting at Photobucket Photobucket - Video and Image Hosting

Sunday 31 December 2006

See you in 2007

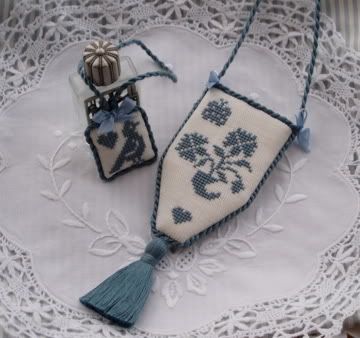
I have heard that this has arrived to my friend so I can show it to you now :-)


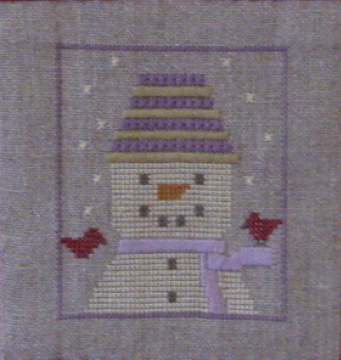
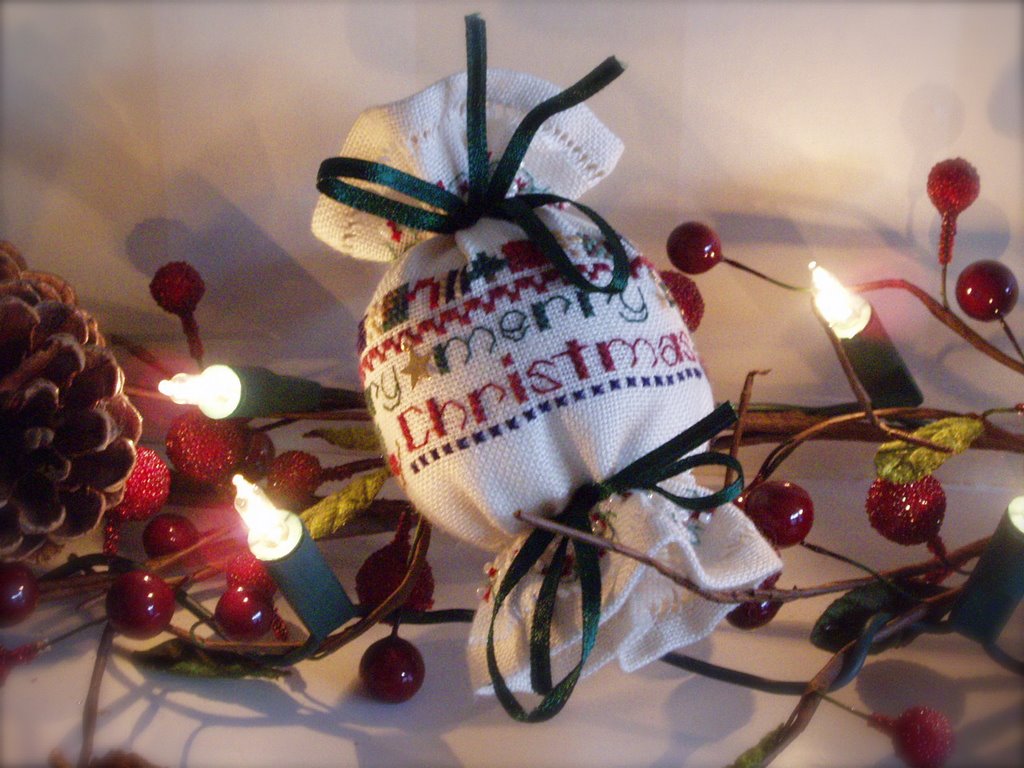
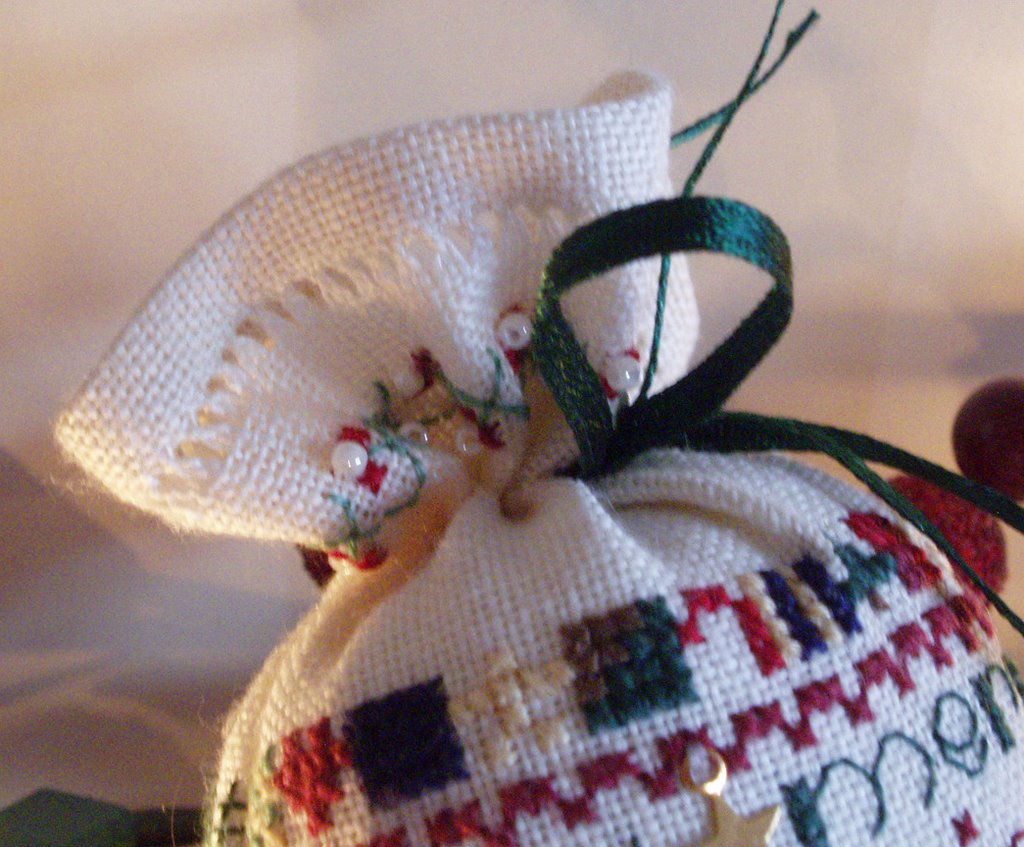
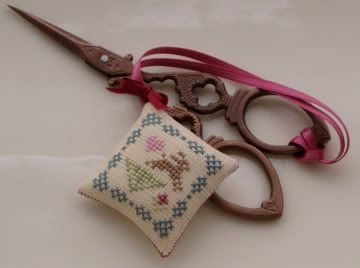
I stitched this 1/1 with Needlepaints 1004 which is beautiful thread to stitch with...it is the JBW Christmas Motif Sampler and it was really nice to stitch. I made up the shape of the ornie myself and had decided to have a go at making a tassel finish in the style I had seen on Nataliejo's blog. I had never made a tassel before so had no instructions but I was delighted with how it turned out for my first attempt. You would have laughed if you had seen me with all the strands of thread spread out on my leg before I got them fastened together ;-) The back of the ornie has a co-ordinating fabric and a pearl bead at the back of the cream band.


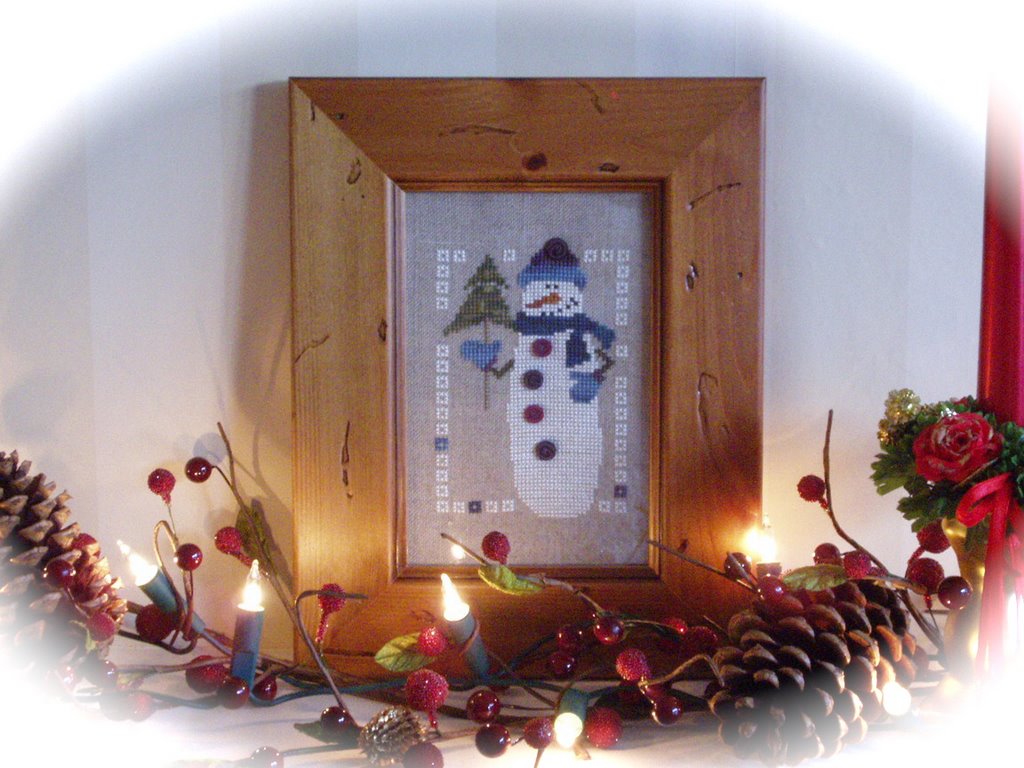
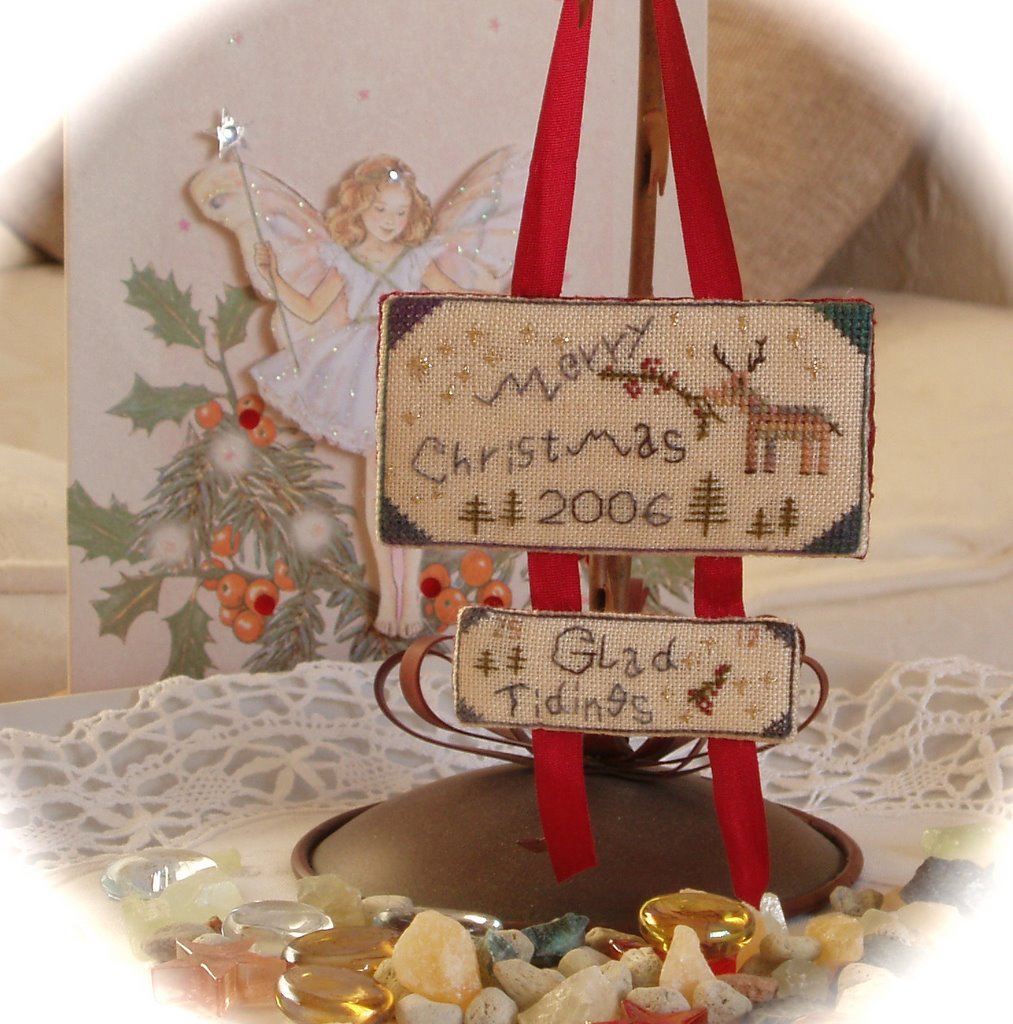
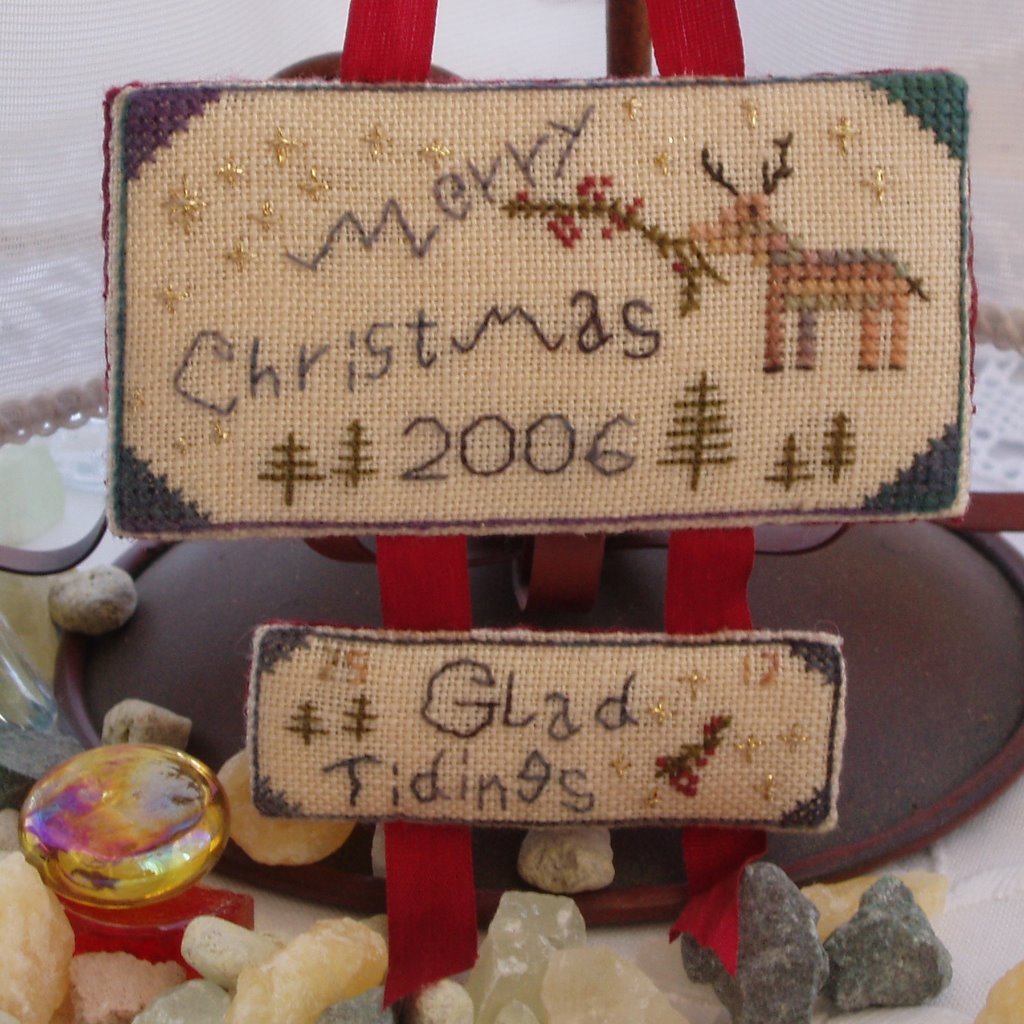
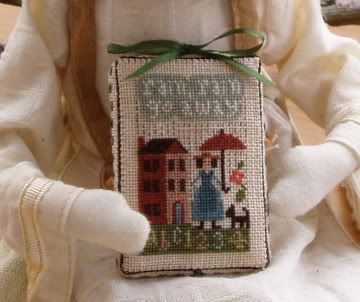
Now and again I think you do something you are very proud of and this is one of my such things, having only made one ornie before (the MC 2004 one below). The whole thing did take me a while as I have been suffering from a trapped nerve in my upper spine that really affected my left arm and has been so painful and keeping me awake for over 3 weeks on a night when I've tried to sleep. I have had four sessions with an oesteopath and now eventually I am feeling some relief and am stitching again which is great :-))

Add Image
I have since made one more ornie which I will show in my next posting and I have started to stitch With my Needle 'Emblem of Love'...Carol and Karen were the enablers for that one as I have loved seeing it on their blogs. I am doing it as SAL with my Mum, so no pressure ;-) I hope I do persevere with it as it is a big project for me although probabaly not to some peoples standards!! We will see if I get it done along with all my other great plans...lol. One of the things on my agenda for early this coming year is my MC Shaker Spool Holder as I really want to get that done!!


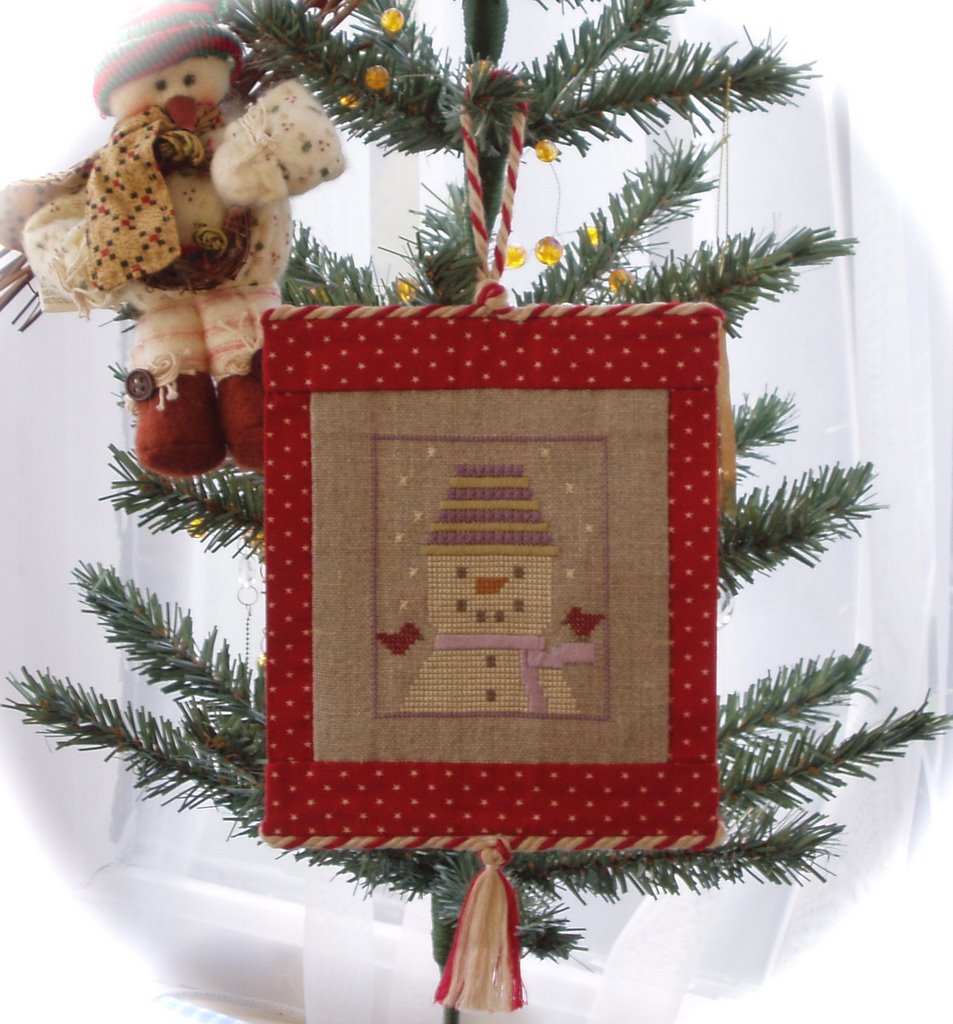
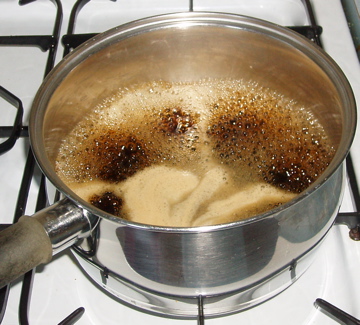
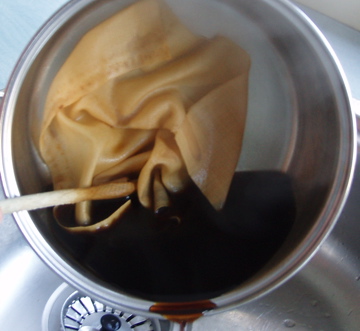
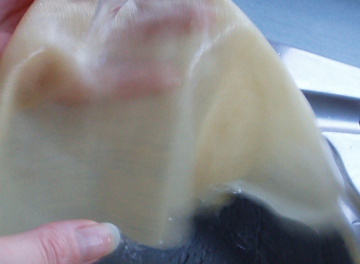
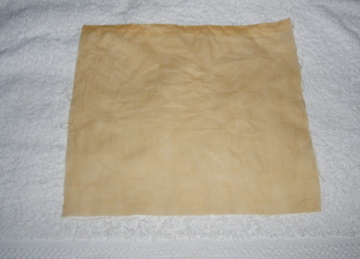
Sharon, yes, I will share how I did the wall hanging finish when I have a bit more time...maybe next week as I did photograph how I did it :)

So for now I would like to wish you all a really Very Happy New Year with all good wishes for 2007 :-))) Take care and thank-you once again for all of your lovely visits and especially to those of you who can and do comment, I love 'meeting' you all.


See you soon!!

Saturday 23 December 2006

Photobucket - Video and Image Hosting

Photobucket - Video and Image HostingPhotobucket - Video and Image Hosting

Have a wonderful Christmas time and to say thank-you for all the visits to my blog and to the everyone who takes the time to leave me comments. I very much appreciate it :-)) I Hope Santa brings you all the stash you could want.

Photobucket - Video and Image Hosting

All the best and I will be back soon!!


Photobucket - Video and Image Hosting

Saturday 16 December 2006

Christmas Ornament Exchange Part 2

Photobucket - Video and Image Hosting

I heard today that my SBEBB Christmas exchange has arrived safely to Linda in Singapore. Linda hasn't opened the little extra parcels I sent so I can't show them...lol. Here is what I made for her...it is January Snowman from Ewe and Eye and Friends. I stitched a snowman as on the list of preferences Linda had said she would like a snowman.


This is stitched on 32ct natural linen with the stated Anchor threads, which by the way I really liked stitching with, they don't knot like DMC ones! This is a nice snowman to stitch as he is interesting to do...his hat is made up of a row of smyrna crosses then a row of satin stitch alternating with the different colours. The snowflakes falling are also smyrna crosses and his lovely scarf is all satin stitch. It really gives him good texture IRL. He is stitched with one strand except the special stitches so for once a white coloured snowman who's crosses look quite neat and orderly :))) I have tried to show his details on this not very good photo.


I finished him into the wall hanging as it suited the red border around him for a nice Christmas look and I somehow thought Linda would like that type of finish (I think I got it right there didn't I...lol):) Plus I had just got that lovely cotton cording in York the day before I finished him and wanted to use that (do you recognise the same cording on the heart Mum did me?) I originally finished him with a 'no sew' finish but me being me had to end up stitching him even though I used that method as I like to make sure it will stay together forever!!


Have a great weekend everyone, we are off shopping...to the crowds!!!!!!!!!!!!!!!!

Photobucket - Video and Image Hosting

Thursday 14 December 2006

Meet Cromwell...

Photobucket - Video and Image Hosting


This is Cromwell the snowman that I actually stitched in 2003 as a gift, I framed him myself. I think from memory he was a limited edition but I cannot now find the chart to say who the designer was but maybe it was Heart in Hand? He is stitched on 32ct raw linen using overdyed threads. I think snowmen are a bit boring to stitch at times and I never feel I like how the white crosses look but this one had a couple of different stitched in the tree and I loved his buttons, he looks kind of rustic which I feel is the best look for snowmen :)) I stitched him when I was at my brother and SIL's house and he was a kit.


Seen as I am bringing Christmas decs out I thought I'd put this wreath I made on to show you. I made this a few years ago as well and it was very good fun to do. I am amazed it has stayed together for so long. I found all the little fir cones on a walk I did a long time ago so used them on this and made the wee parcels myself.


Back soon!!Photobucket - Video and Image Hosting

Tuesday 12 December 2006

Christmas Ornament Exchange

Photobucket - Video and Image Hosting

I have received my ornie exchange from the SBEBB today and it was Katrina who stitched for me. I LOVE this as it is a Shepherds Bush design made into a tiny fat roll that looks just like a sweet. Katrinas stitching and finishing are just perfect as you can see in the pictures :-)) I also got sent some extras in the package which were some chocolates, Santa tissues a New Zealand pen, xmas stickers (which are lovely) and some Holly print fabric with some really pretty gold braid which all came in a beautiful gift bag (sorry I forgot to take a pic). Thanks so much Katrina you have made my day and first exchange really nice.

The Ornament


Close up of the Hemmed Edge and beads


I am still waiting on the Christmas exchange I stitched to arrive at its destination which I hope will be soon.....when it does I will show the picture :)

Photobucket - Video and Image Hosting

Hope you are all enjoying your week with some stitching in between being busy, busy!!

Back soon

Friday 8 December 2006

What was stitched

Photobucket - Video and Image HostingI had decided at the beginning of October that I wanted to stitch all the Merry Cox Christmas Ornaments from the various JCS xmas ornie mags. I had been meaning to do them each year but it didn't happen. I didn't have the 2001 mag so when my sister Su came over to see us and go to The Show at Newcastle she brought me the magazine as she had two of them. I tried at this show to get the Gloriana silk threads but had no luck, I had tried different UK shops but no luck, I tried a lady who I know always stocks them but she didn't have 'Winter Woods'. I started the 2001 ornie after the 2004 one and as I only had a tiny bit of winter woods initially, I have ran out and got another ordered, otherwise...I would have had two ornies to show you. This one below is from the 2004 JCS ornie mag.


Photobucket - Video and Image HostingI changed it a bit as it was originally charted for Merry's grandaughter so the bottom section I put 25 and 12 for the date, I put the year in the top space and made my own free hand stitching for the Glad tidings trying to copy the style of the writing above it. I also added a holly bough and some trees and stars to the bottom section. I used a plain red silk to line the back and stitched it all together instead of glue as I feel it would stay put for longer that way ;) For the ribbon, I chose a dark red silk one I had, plus the fact I could not find a suitable green one anywhere, but I figured it picks out the tiny 1/1 holly berries quite nicely in real life. I have tried to show them more with this bigger picture below.


Photobucket - Video and Image HostingAltogether I do really like it, which is good, as I intend giving it for a gift to some-one. The pictures show the colour of my own coffee dyed 40ct really well, so you can get the idea of the 'real' shade alot better from these. I feel pleased as it is indeed home-made :-))))))

An update on the exchange stitching.....All stitching is completed for all 4 pieces the xmas one was posted on Tuesday the official mailing date. I will show what I made for that when it arrives to the recipient. The others are still waiting to be made into the various items, I still have plenty of time as the next posting date is 10th January. I will do them once the holidays start so I have more time in one long run, rather than a few minutes here and there which is what it feels like at the moment for me and probably everyone else :))

Photobucket - Video and Image Hosting

Have a great weekend everybody !!

Thursday 7 December 2006

An experiment..........

Photobucket - Video and Image HostingI have a piece of 40ct linen which was a white colour and I wanted to stitch a design that needed 40ct cafe kona coloured linen. This count linen is very difficult to get here and if you are lucky enough to find it, it is always a whiteish shade. I was too impatient to wait for an order to arrive from the US so I decided to cut a square from it, big enough for the design and experiment at dyeing it myself. It was very successful so I though I would share with you what I did.

Photobucket - Video and Image Hosting

The original colour of the linen

Photobucket - Video and Image HostingI got my pan out and into that I put just 3 decent sized teaspoonfuls of instant coffee.

The coffee in the pan

Photobucket - Video and Image HostingThen I added some cold water and brought it to the boil.

The boiling coffee water

Photobucket - Video and Image HostingNext I put in the square of linen and stirred it about so it was immersed and boiled it for 10 minutes.

The linen boiling in the pan

Photobucket - Video and Image HostingWhen the 10 minutes were up I moved the pan and carefully holding the linen with a wooden spoon I pored the coffee water down the sink.

Pouring the coffee out

Photobucket - Video and Image HostingNext I rinsed and rinsed and rinsed the piece of linen under the running tap till the water ran clear.

Rinsing the linen

Photobucket - Video and Image HostingAs it was a small piece of linen I decided to iron it dry on a clean towel, this picture shows it still wet.

Ironing dry

Photobucket - Video and Image HostingThis picture shows it all ironed and dry, the colour is actually very even which did surprise me and I was pleased about that. The actual colour in the end is just slightly lighter than the one above where it is shown still wet.

Ironed dry and finished

Photobucket - Video and Image HostingThis picture is to show the comparison of the starting shade and the end result

To show the 2 colours


Photobucket - Video and Image HostingHey presto........Photobucket - Video and Image HostingI have my own cafe kona coloured linen all in about 15 minutes, I was really pleased as the colour is lovely in real life. Now, if I get the time I will show you later today what I stitched on this, if not I will get it on soon.

Photobucket - Video and Image Hosting

Back soon ;-))

eXTReMe Tracker

Powered by Blogger